
10 Hidden Canva Features You're Not Using (2026)
Jul 28, 2026Canva has a set of hidden features that most users never open — color themes, graphic style filters, 3D element generation, Vectorify, Magic Grab outlines, Background Decorator, layouts and styles, resize bundles, and Magic Layers. Most of them sit one or two clicks deep inside the Edit menu or the Elements panel rather than on the main toolbar. Six of the ten work on the free plan; brand kit color themes, Vectorify, Background Decorator and Magic Grab require Canva Pro.
Key takeaways
- The Canva tools that make the biggest visual difference aren't on the main toolbar. They're inside the Edit menu and the Elements panel filters.
- A color theme is not the same thing as a color palette. A theme tells Canva which colors to use for backgrounds, text, and elements.
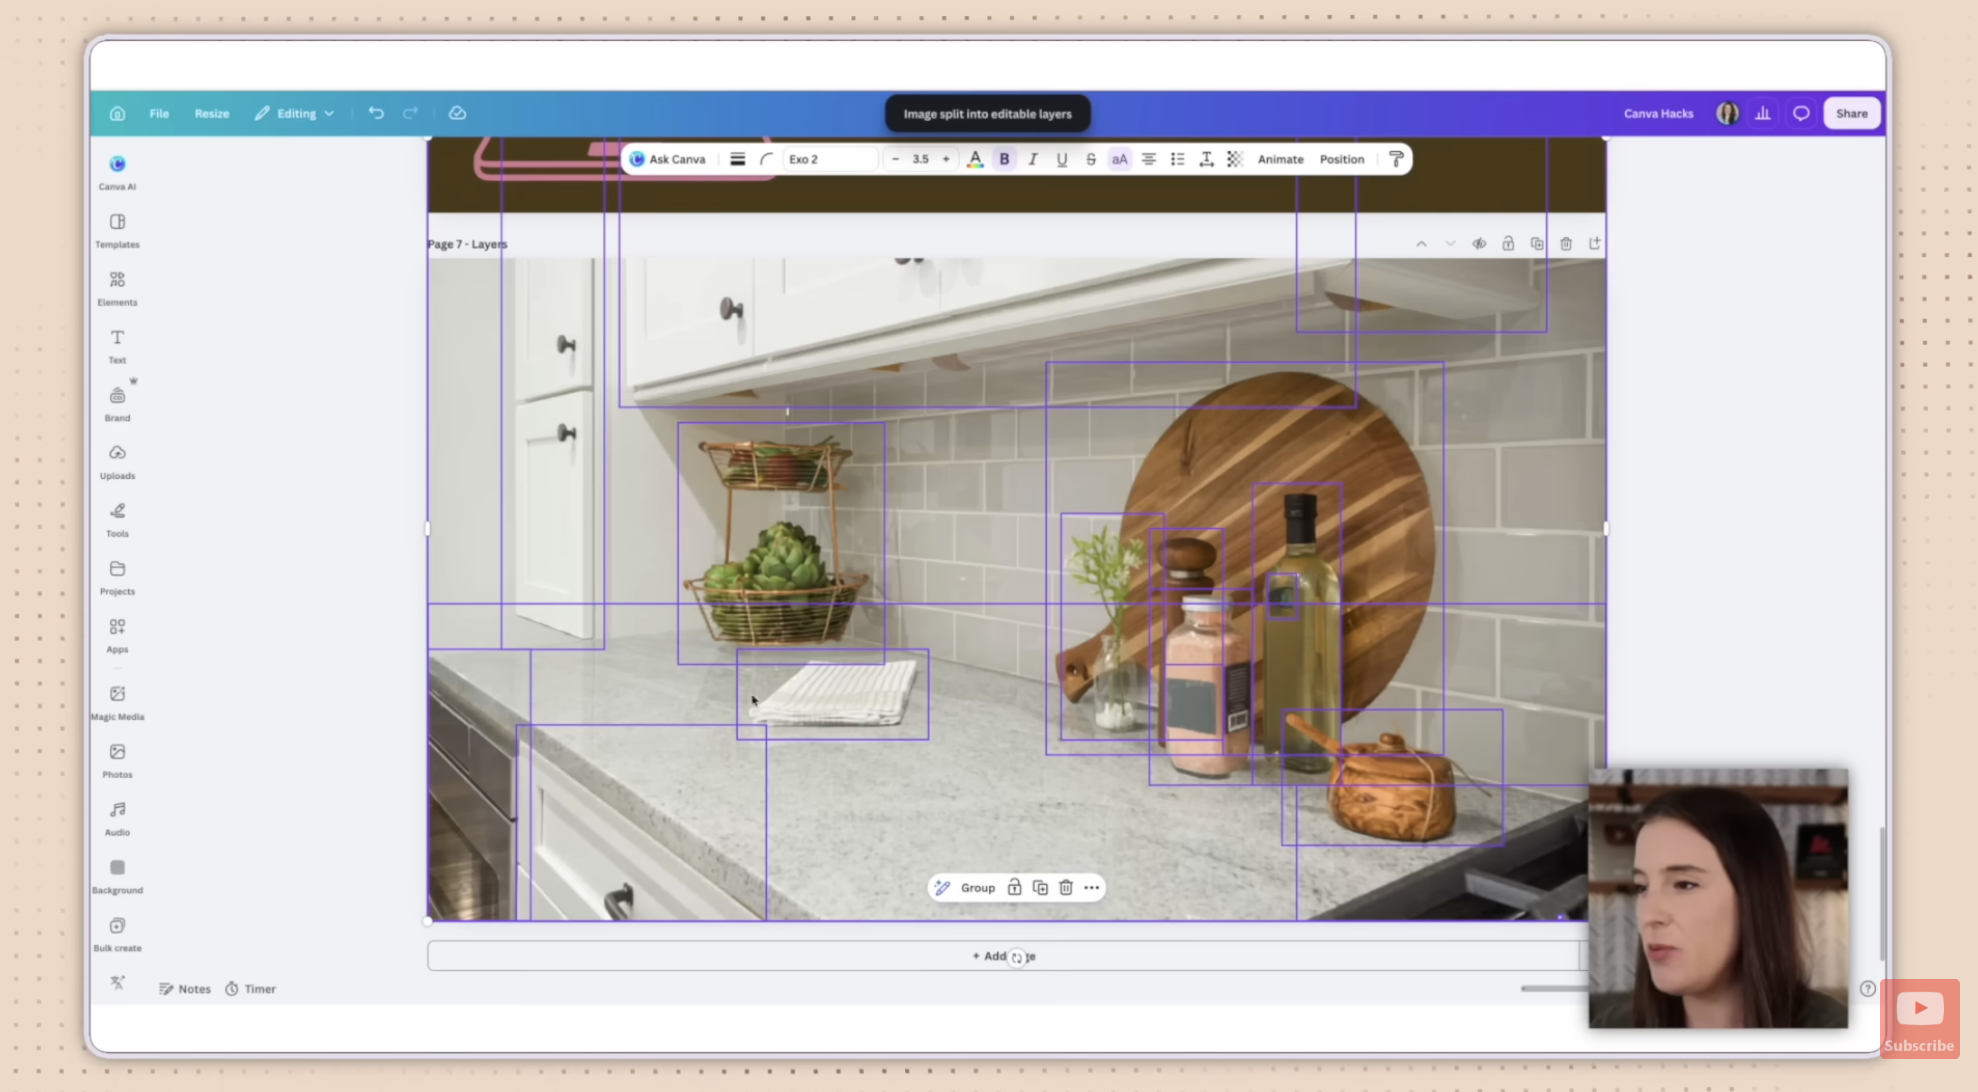
- Magic Layers splits a flat photo into individual editable layers in one click — something that used to take manual masking.
- Background Decorator is the newest of the ten. You describe the background you want and Canva generates four options.
- Only four of these ten need Canva Pro.
I've been in Canva basically every single day for years now.
And I still had a moment recently where I clicked something, watched what it did, and thought — wait. How have I not known about this?
That's the thing about Canva. The features that make a design look like you hired an actual graphic designer are rarely sitting right on the toolbar. They're one menu deep, and most people never go looking.
So here are ten of them. I don't gatekeep, so I'm showing you exactly where each one lives and what it actually does.
Heads up — some links below are affiliate links, which means I may earn a small commission if you buy through them, at no extra cost to you. I only recommend tools I actually use.
What are the hidden Canva features most people never use?
Here are the ten, in the order I'd learn them.
1. Color themes
Everyone knows about brand colors. Almost nobody uses color themes, and they're the more powerful version.
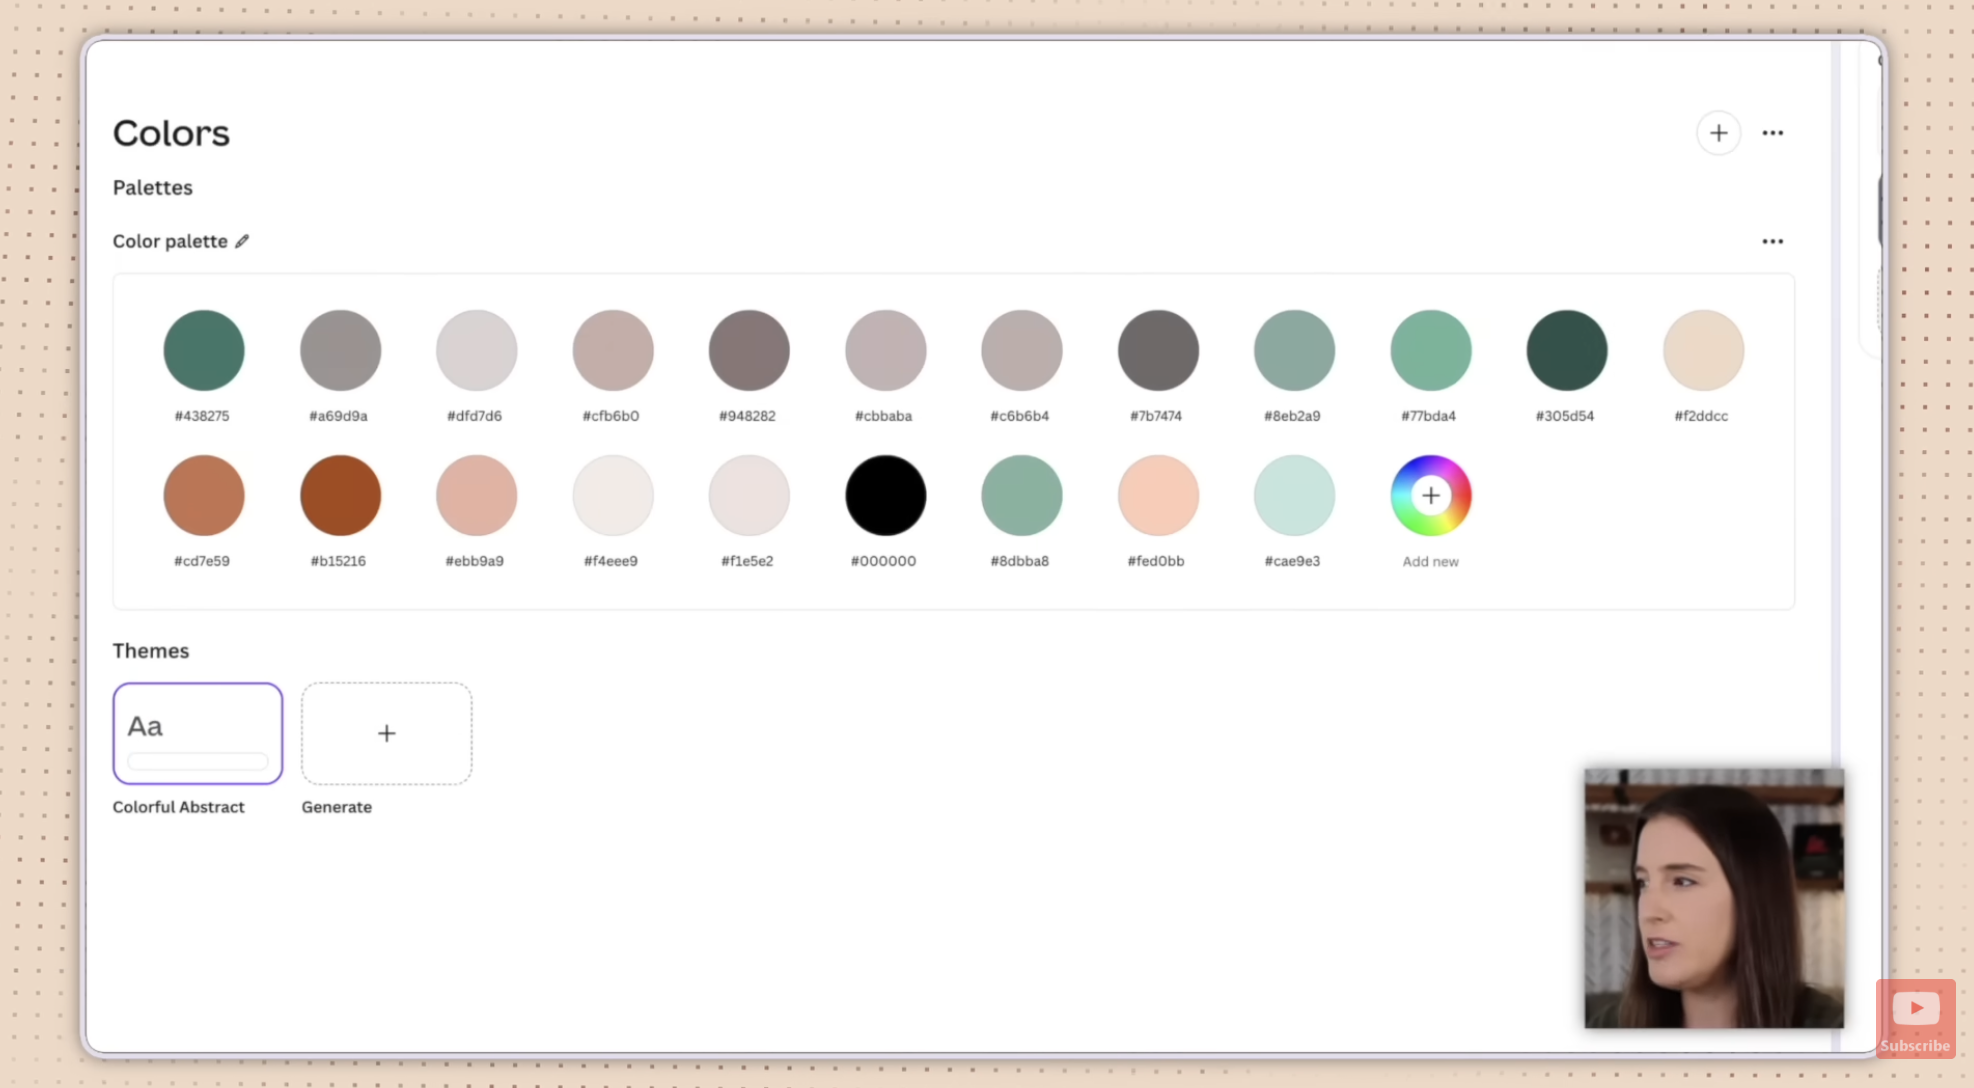
Open a design whose colors you like — a template, or something you've made. Click Brand in the left sidebar, scroll to Colors, and hit generate a color theme. Pick the design you want to pull from, name your theme, and click add to brand kit.
Here's what makes it different from a palette. Your palette is just a set of colors you can grab. A theme tells Canva which colors inside it belong on backgrounds, which belong on text, and which belong on elements. You can even type custom guidelines when you create it.
Then in any other design, go back to Brand → Colors, find your theme, and click apply. Keep clicking to shuffle through combinations, or choose apply to all pages to convert an entire carousel at once.
Best for: anyone who makes multi-page content and is tired of recoloring every slide by hand.
This one needs Canva Pro. If you don't have it, there's a free 30-day Canva Pro trial here so you can test it before you commit to anything.
2. Graphic style filters
You know how you search the Elements panel for something and get four thousand results in every style imaginable?
Fix it before you search. Click the little plus button next to the search bar, choose Styles, and pick the exact look you want — cartoon, pixel art, comics, watercolor, and more.
Search "banana" with comics selected and you get comic-style bananas. Switch to watercolor and you get watercolor ones. That's it.
Best for: keeping a design visually consistent instead of accidentally mixing five illustration styles on one page.
3. 3D element generation
Type what you want in the Elements search — say, the planet Earth. Instead of clicking generate straight away, click the small dropdown arrow and select 3D.
Canva generates four genuine 3D graphics. Drop one into your design, click the middle of it, and drag — you can spin it and view it from any angle.
Best for: adding depth to a flat design without hunting for a 3D render somewhere else.
4. Vectorify — turn a photo into a vector
Select any photo, click Edit at the top, then scroll all the way down the left sidebar to Apps and find Vectorify.
Choose full color or black and white — black and white gives you a threshold slider you can drag while watching the preview. Then click convert to vector.
Once it's converted, the number-of-colors slider is where the fun is. Drag it left to simplify the image down to a few flat shapes, or right to add detail. You can also recolor any single color in the image, or apply a whole different palette in one click.
Best for: turning a photo into a graphic that actually fits your brand instead of fighting it. Requires Canva Pro.
5. Image blending with a gradient
This one takes about ninety seconds and it's the single biggest "did you hire someone?" trick on the list.
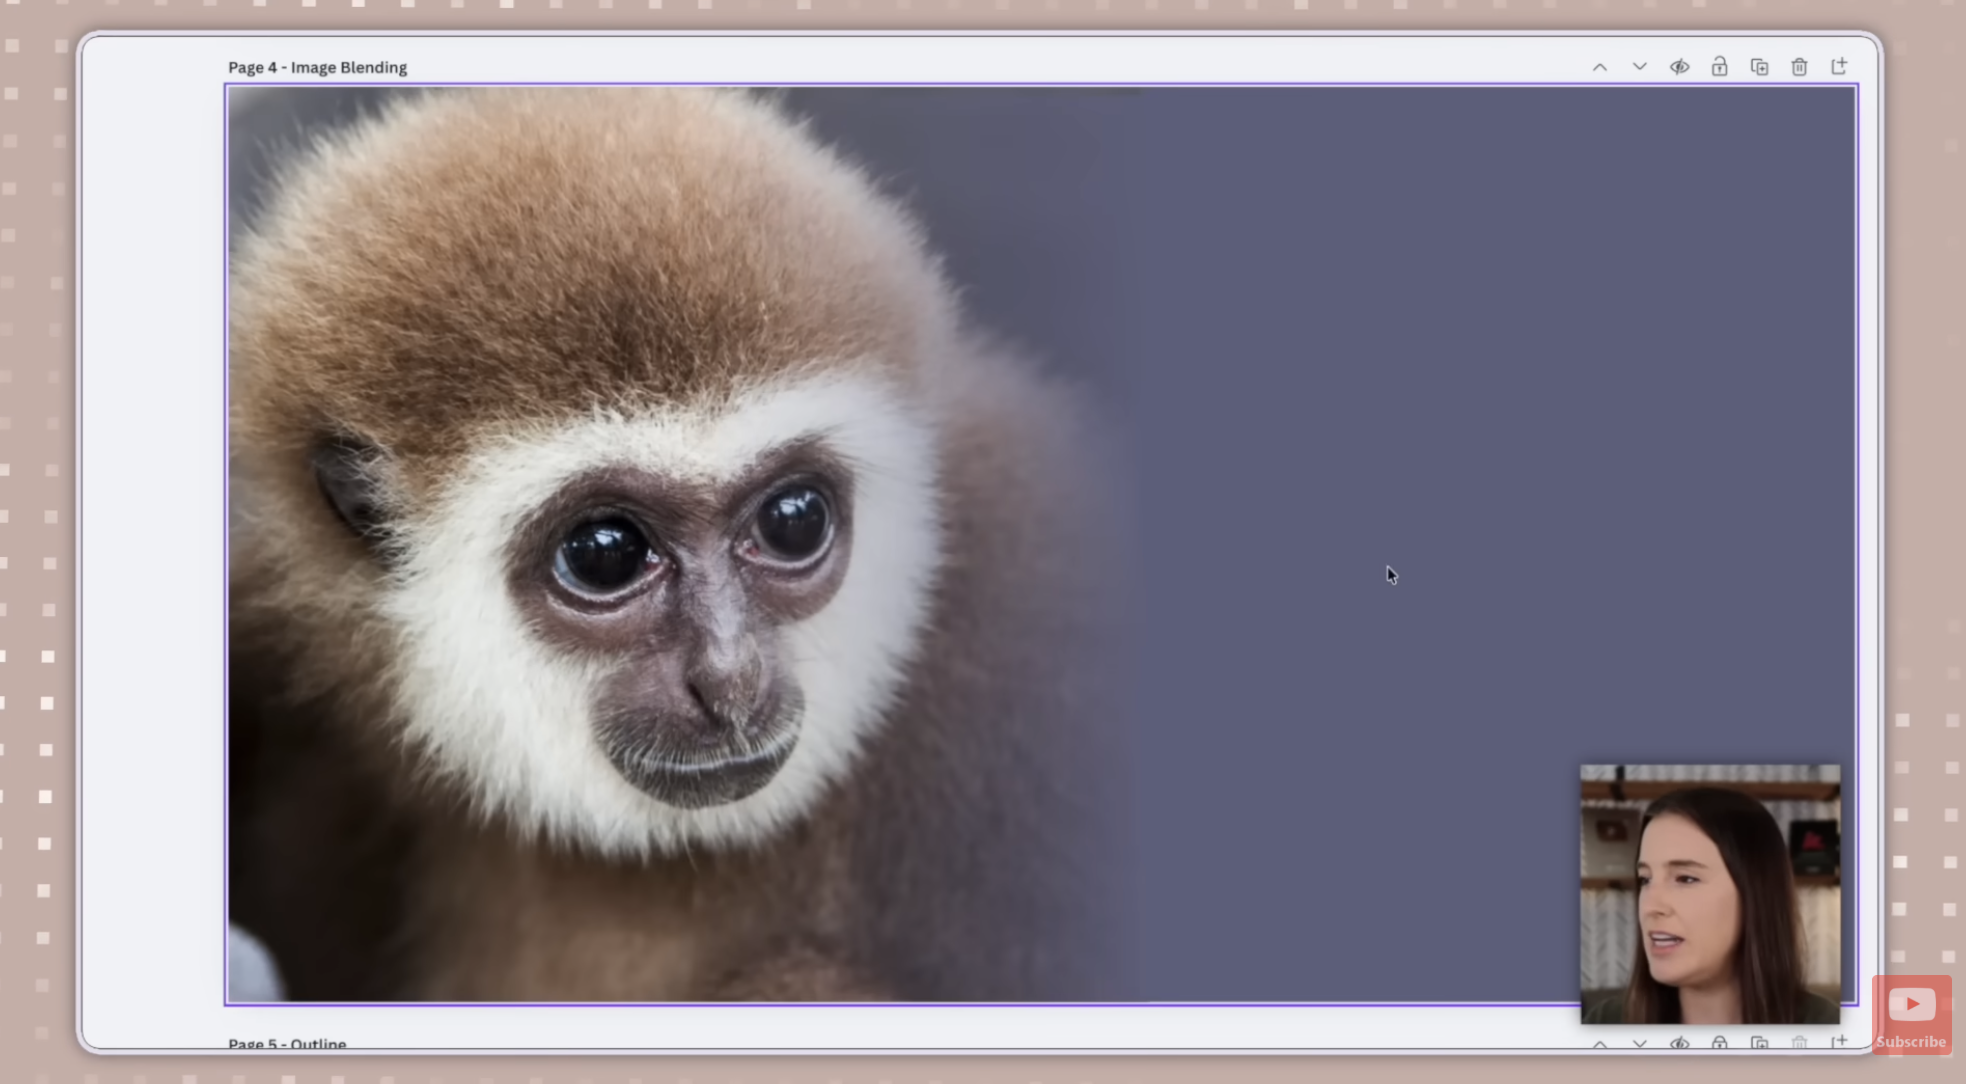
Say you've got a photo on the left half of your design and a solid background color on the right. You want the photo to melt into the background instead of stopping at a hard edge.
Add a plain square shape from Elements. Click the color circle at the top, then switch from solid to gradient. Add a third and fourth color stop so you've got four total.
Now set every one of those four stops to your background color — use the eyedropper to grab it exactly.
Then click each stop one at a time and drag the transparency slider. The far-left stop goes to fully transparent, since that's the end sitting over your photo. The next one to about 25%. The third to about 60%. The last stays solid.
Resize the square to cover the full height of the photo and slide it so the right edge slightly overlaps the seam. Nudge it until the seam disappears.
Best for: invitation templates, digital products, anything where a hard photo edge is making it look homemade.
6. Outlines with Magic Grab
A clean outline around a person or object makes a design pop instantly. It's a two-step process.
Select your photo, click Edit, and under Tools choose Magic Grab. Canva's AI separates the subject from the background — click the subject, then click grab, and you've got two layers.
With the subject still selected, go back to Edit and scroll down to Shadows. Choose outline. From there you can change the color, the thickness, and the intensity, which controls how solid or see-through the outline looks.
Best for: thumbnails, ads, and any design where the subject needs to separate from a busy background. Requires Canva Pro.
Want more of these? I put my 18 favorite Canva techniques — the ones my team and I use almost daily — into a free cheat sheet. Grab the Canva Hacks Cheat Sheet here.
7. Background Decorator
This is the newest one on the list, and it's the fix for staring at a blank canvas with no idea what goes behind your text.
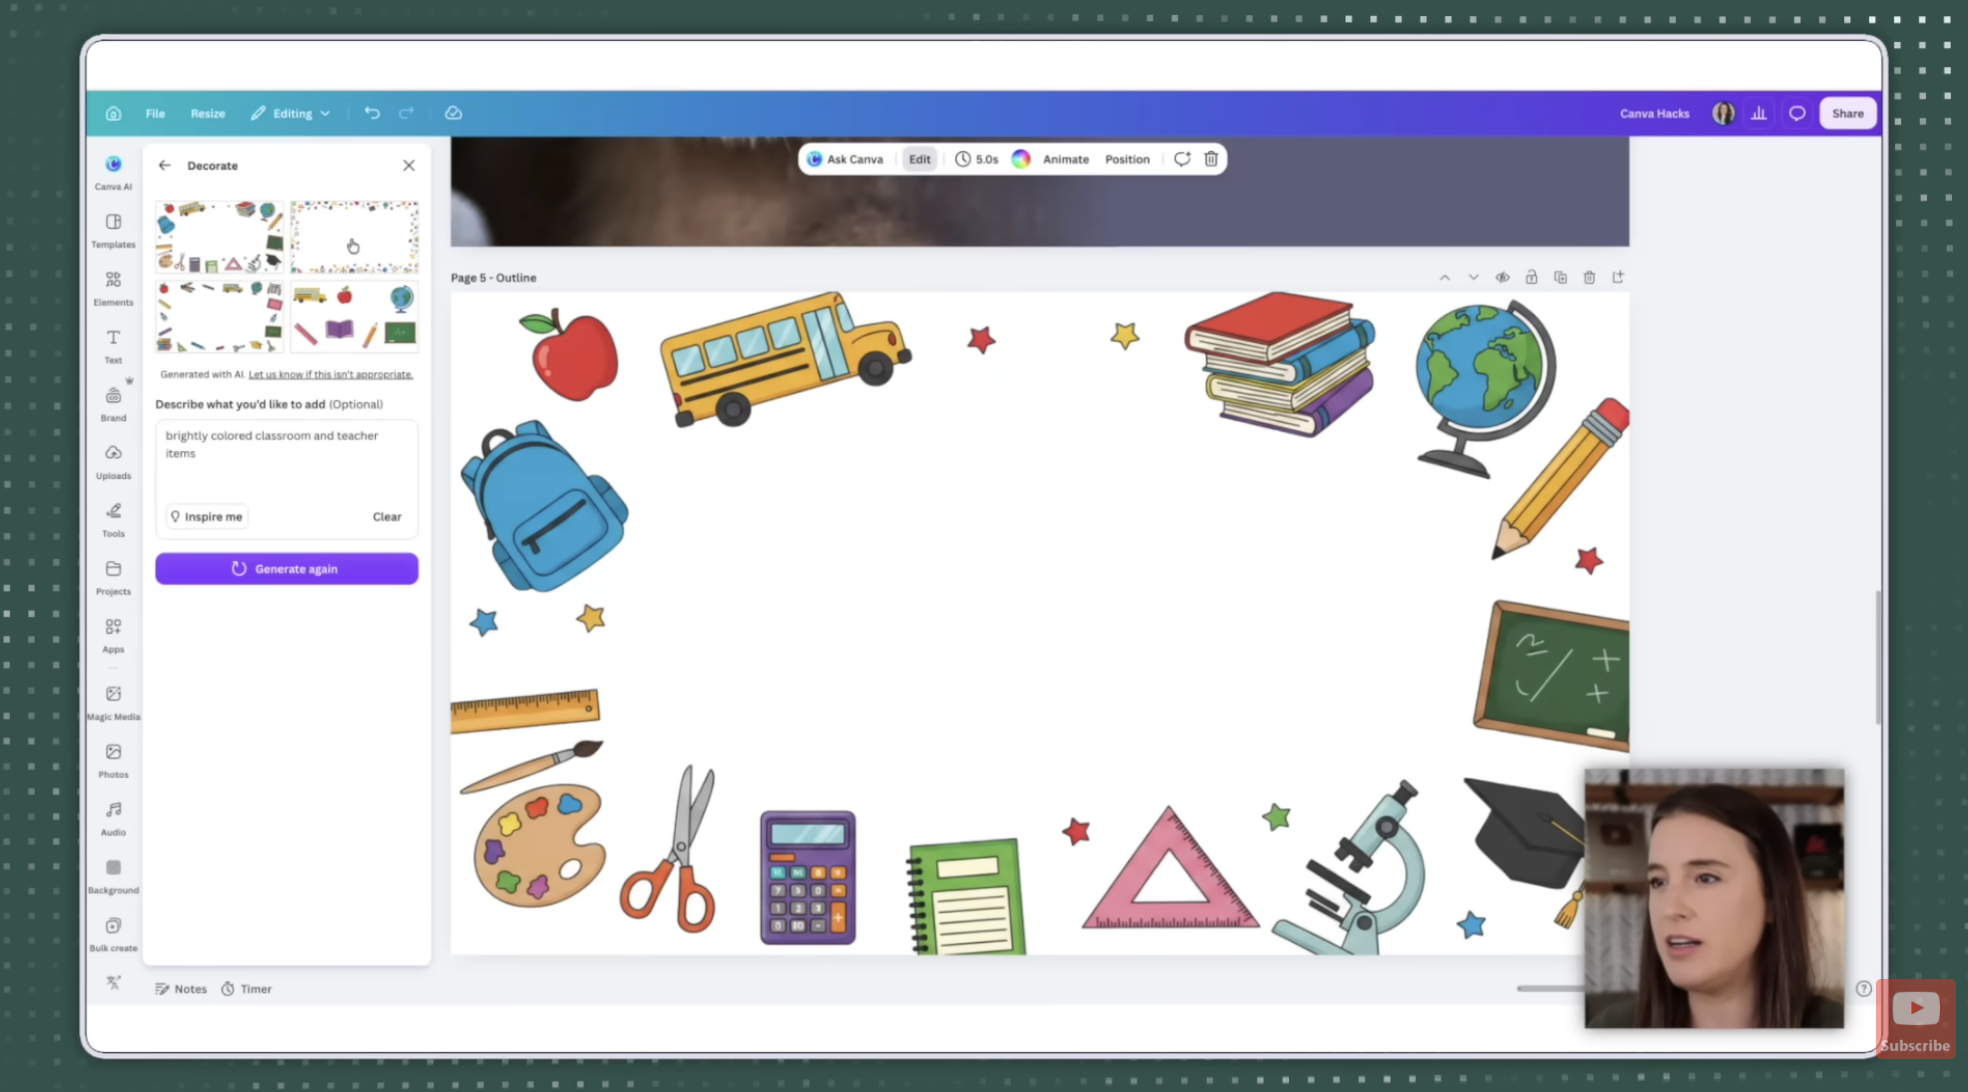
Click your page background, go to Edit, and find Decorate on the left. Describe what you want. In the video I typed "brightly colored classroom and teacher items" and Canva generated four options — one of which came back as a clean border, which is exactly what I wanted.
The generated background stays editable too. Select it and you can swap individual colors from the top toolbar until it matches your brand.
Best for: getting unstuck fast when a design feels empty but you don't know what it needs. Requires Canva Pro.
8. Layouts and styles
Not a new feature — but Canva moved it, and a lot of people lost track of it.
It used to live under Templates. Now you click your design background, go to Edit, and look for Styles, then see all.
Inside you'll find suggested color palettes, font pairings that actually work together, and combinations of both. Click one to preview it on your live design. If you like the colors but hate how they landed on your text, keep clicking that same style — it reshuffles which color goes where.
Best for: the moment you're stuck on fonts and second-guessing every color choice.
9. Resize bundles
Resizing itself is old news. The bundle option is not.
Click Resize at the top left and type "social media." You'll see a social media bundle with five sizes included. Click resize, and in a few seconds your one design exists as an Instagram post, a story, a Facebook size, and more — including a video option.
Best for: skipping the tedious job of resizing the same graphic five separate times.
10. Magic Layers
Saved a good one for last. This used to be genuinely painful — if you wanted to remove one object from a flat photo, you were masking and layering by hand.
Now: select the photo, click Edit, go to Tools, and choose Magic Layers. Canva separates every element in that image into its own layer. Move them, resize them, delete the ones you don't want.
There's a second, quieter update worth knowing. If you group elements with shift-click, you no longer have to ungroup to change one of them. Just click into the group and edit that single item directly.
Best for: reworking a stock photo instead of scrapping it and starting over.
Which hidden Canva features require Canva Pro?
Four of the ten: color themes (because they live in the brand kit), Magic Grab (which the outline trick depends on), Vectorify, and Background Decorator.
The other six — graphic style filters, 3D elements, Vectorify, gradient blending, Background Decorator, layouts and styles, resize bundles, and Magic Layers — work without an upgrade.
If you want to test the Pro-only four before deciding, the free 30-day Canva Pro trial also opens up the premium fonts, elements, and templates, so you can see whether the whole package is worth it for how you actually work.
Which hidden Canva feature should you try first?
Start with gradient image blending.
It's free, it takes under two minutes, and it changes how a design reads more than anything else on this list. A hard photo edge is one of the loudest signals that something was made by a beginner, and this removes it completely.
After that, graphic style filters — because it saves you time on literally every design you make from here on out.
Then come back for color themes once you've got your brand colors sorted.
Frequently asked questions
Do you need Canva Pro to use hidden Canva features?
Not for most of them. Of the ten covered here, six work on the free plan. Color themes, Magic Grab, Vectorify, and Background Decorator are the four exceptions, since they are tied to Pro-only areas of Canva.
Where is the Canva Brand Kit?
Click Brand in the left sidebar while you have a design open. That opens the brand kit area where your colors, fonts, logos, and color themes live. It's only available on Canva Pro.
What's the difference between a color palette and a color theme in Canva?
A palette is a set of colors you pick from manually. A theme goes further and tells Canva which colors within it should be used for backgrounds, text, and elements — so when you apply it, Canva makes those decisions for you. You can add custom written guidelines to a theme when you create it.
Why can't I find Layouts and Styles in Canva anymore?
It moved. It used to sit under Templates in the left sidebar. Now you click your design background, go to Edit at the top, and select Styles, then see all.
Can Magic Layers be used on any photo?
It works on flat images with distinguishable objects in them, which covers most stock photos and product shots. Results depend on how clearly separated the elements are — a busy image with overlapping objects will split less cleanly than a simple one.
Is Canva Pro worth it just for these features?
That depends on what you're making. If you design regularly for a brand and you're recoloring things by hand every time, color themes alone save real hours. If you only make the occasional graphic, the six free features here will carry you fine.
How do you find out about new Canva features?
Canva rolls features out gradually rather than announcing each one loudly, so the practical answer is to open the Edit menu on a design every few weeks and look for options that weren't there before. Background Decorator is a good example — it appeared quietly and most users still haven't found it.
Or just find out from my on my YouTube channel, I regularly post Canva updates videos and tutorials. Check it out and subscribe here!
Want to turn these Canva skills into something that actually makes money?
Digital products are created once and sell on repeat — no shipping, no inventory, no filling orders. My free 45-minute masterclass walks through the exact four-step system for starting and growing a digital products business, even if you've never sold anything before.
So — which of these ten had you going "wait, that exists"? Hit reply on my next email and tell me. I read every one.
Not on my list yet? Grab the Canva Hacks Cheat Sheet and you'll be automatically added!
